Cleaning up the Barn Find
- K.W. Bunyap
- Feb 8, 2020
- 3 min read

While waiting for my mechanic to open up space for my project, it was time to see what kind of a diamond-in-the-rough I had in this corvette. I was at a bit of a disadvantage because the car was in a storage unit and I didn't have any running water nearby. No problem. I'll just bring in the buckets!
I'm a fan of Meguiar's products and I brought them to the storage unit and got to work. First, I took a soft rag and plain water and began wiping the dust from the car. I would dunk the rag in the bucket of clean water, wipe down a section of the car, and then dunk the rag in the second bucket of water to try and rinse it out some. That process removed the majority of surface dust and dirt. The rest of the day I spent polishing the chrome with a standard, off-the-shelf chrome polish. There were some pits in the chrome but the polish worked wonders just using elbow grease. The few tiny pits that remain will probably come out with a powered rotary polisher, but I'll leave that to the experts. I just wanted to see if I could bring it back to life, and was thrilled with the results.
The next weekend I filled my wash bucket with clean water and used Meguiar's Gold Class shampoo and a soft microfiber mitt. I would wash a section and then rinse it with clean water from a cup of water from the second bucket. After a good wash, it was on to the second step.
I worked the car over with a clay bar to smooth out the rough, sandpaper-like finish. If you have never used a clay bar, it works wonders to pull up the surface contaminants. Once the car was smooth, I moved on to step three.
I then went over the car with Meguiar's Ultimate Compound. I was impressed with how it took out the minor scratches in the paint. A note on using the product. It's not like a wax, where you wait for the compound to dry to a haze. If you do that, it will take forever to get it off. You just rub on and wipe off, doing small sections at a time. Watching any of the great detailing videos on you-tube will show you everything you need to know.
Step five was to polish the car with Meguiar's Ultimate Polish. I must admit that my arms were so sore from hand rubbing the car all day that I was only able to finish polishing the back half of the car. I know the purists here will admonish me for not using a powered, rotary polisher, but I'm not in the detailing business and was afraid that my lack of skill would do more harm than good. I returned the next day to finish polishing the front of the car before moving on to step six.
Finally, I applied Meguiar's Mirror Glaze Professional Hi-Tech Yellow Wax. When the wax dried to a haze I wiped it off with a clean microfiber towel.
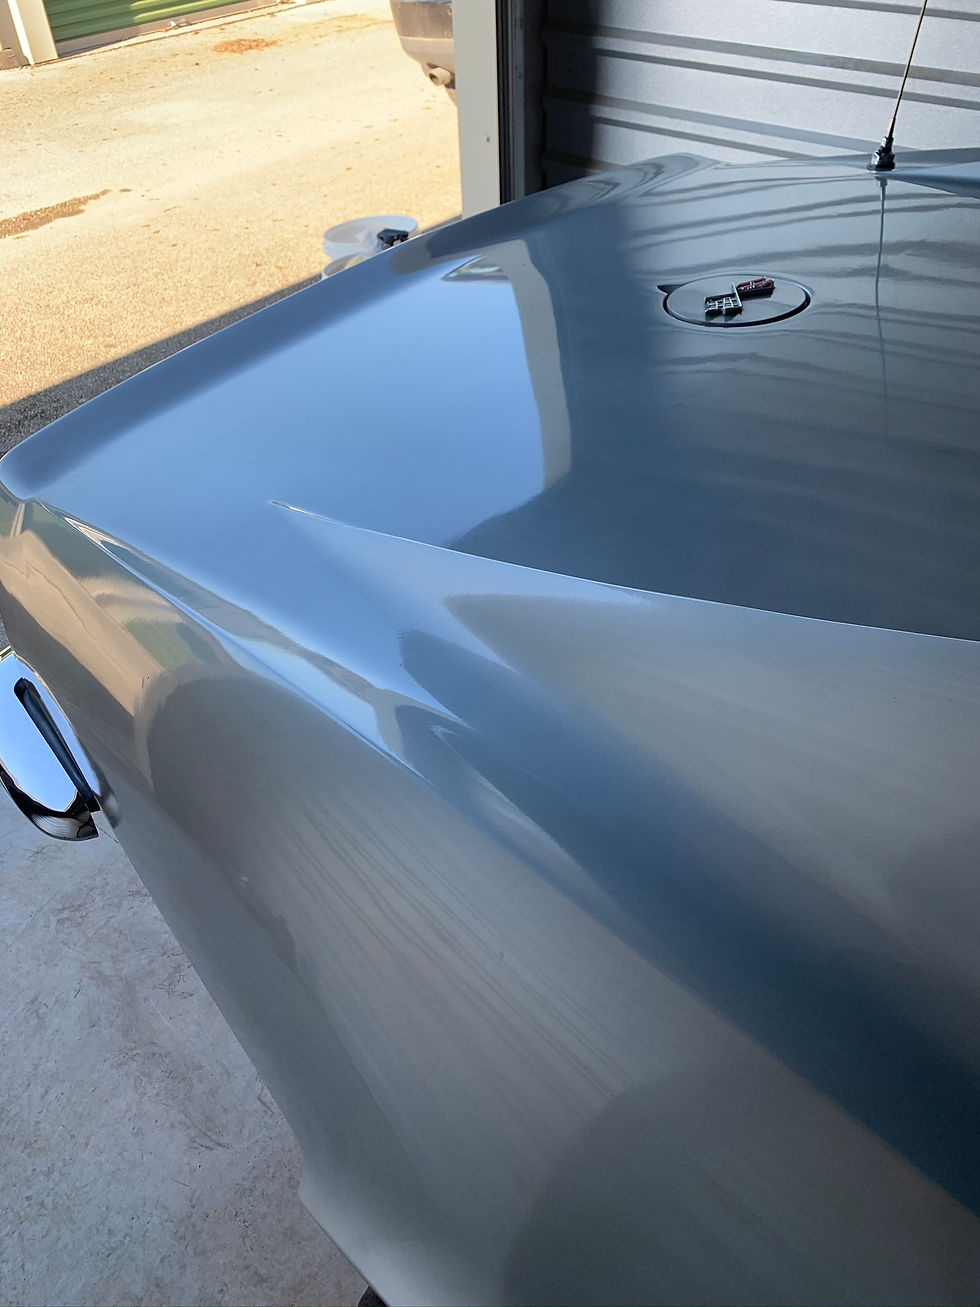
Wow! The car looked amazing! I'm so excited to see the original paint is still in such good condition. There are some chipped spots that I will let the professionals tackle later, but I'm very excited to see this baby coming back to life!
Before and after:


As you can see, a little elbow grease can work wonders!


I also spent some time with a leather polisher and interior detailer to try cleaning up a bit of the inside. I don't plan on doing a lot to the interior until it's out of the storage unit but I wanted to see if the interior was going to come back to life as nicely as the exterior. I'm excited to see that it will! Just removing some of the mildew after 46 years of sitting has made a world of difference.
In this image, you can see the mildew on the leather gear shift boot.

After some minor cleanup, things look much better. (Please ignore the dryer sheets placed to discourage mice from taking up residence while in storage, and also the seven-blade fan stored inside the car for now.)

The upgraded leather along with the carpet looks brand new!

Counting the days until we can get her in the shop!


Comments