Detailing the Engine Bay
- K.W. Bunyap
- Mar 2, 2021
- 4 min read

Work continues on detailing the engine bay. To bring things up to NCRS judging standards, there is more involved than just pressure washing and spray painting the engine bay. For our restoration, the crossmember and chassis components have been repainted but the actual edges of the engine bay were simply cleaned to bring back to the patina and finish that they left the assembly line with. In this first picture, you can see some of the cleaning and painting that has taken place. The front nose area ahead of the radiator has not been cleaned yet, and they haven't finished the engine bay, moving aft, so the area in the forefront hasn't been cleaned.


Here is a before and after shot of the cross member.


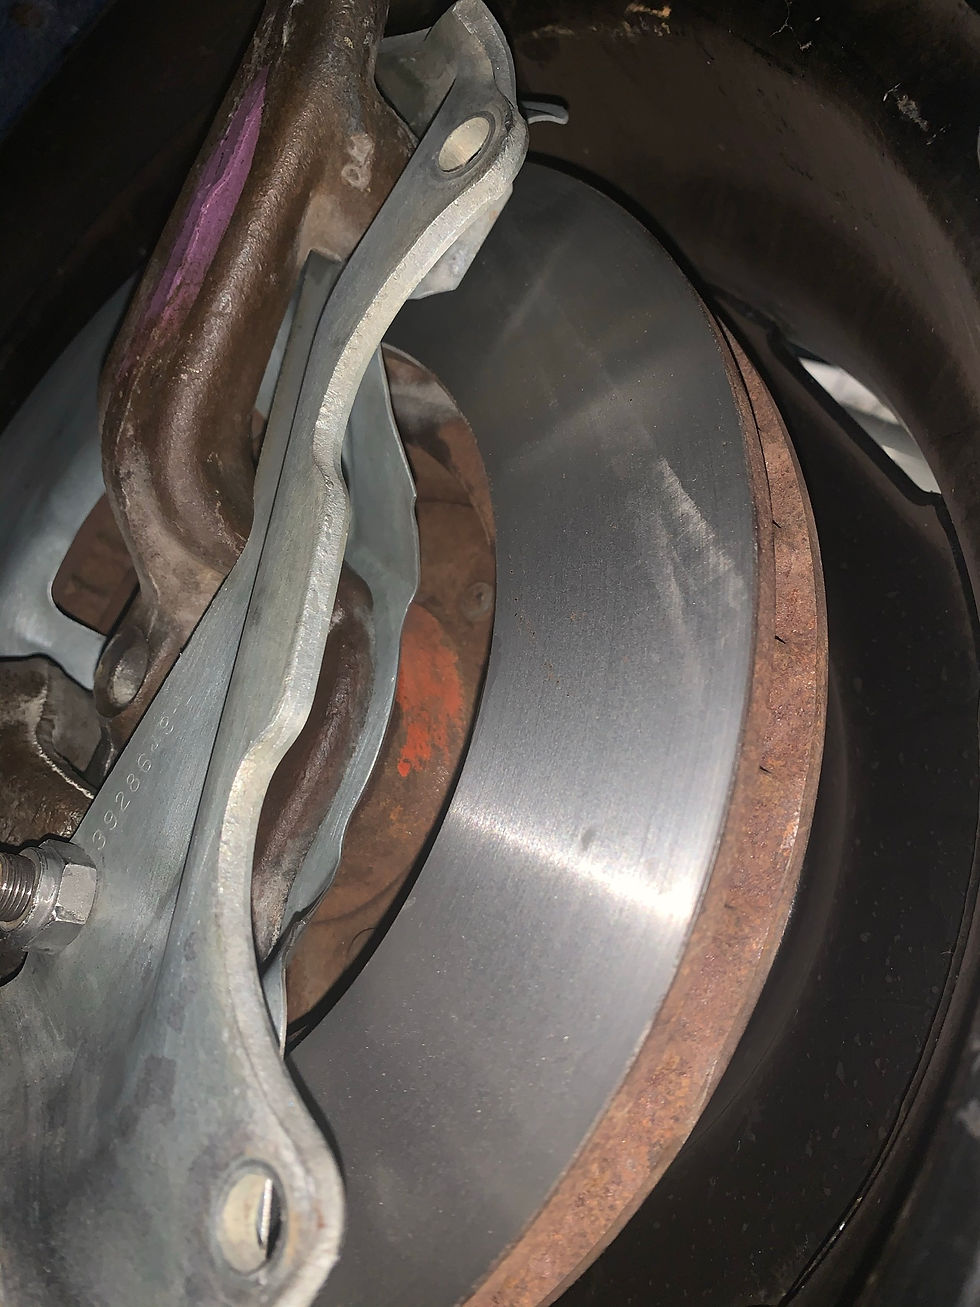
Below, you can see part of the front suspension. While cleaning, we left intact the purple paint marks that the car left the factory with. The right control arm did not have a white paint mark at the top, while the left control arm did have one.


In this next image, you can clearly see some orange engine overspray on the inside of the wheel/brake assembly. This is unusual and will be presented to the NCRS judges for comment. I'd like to find out if other cars have had this present.
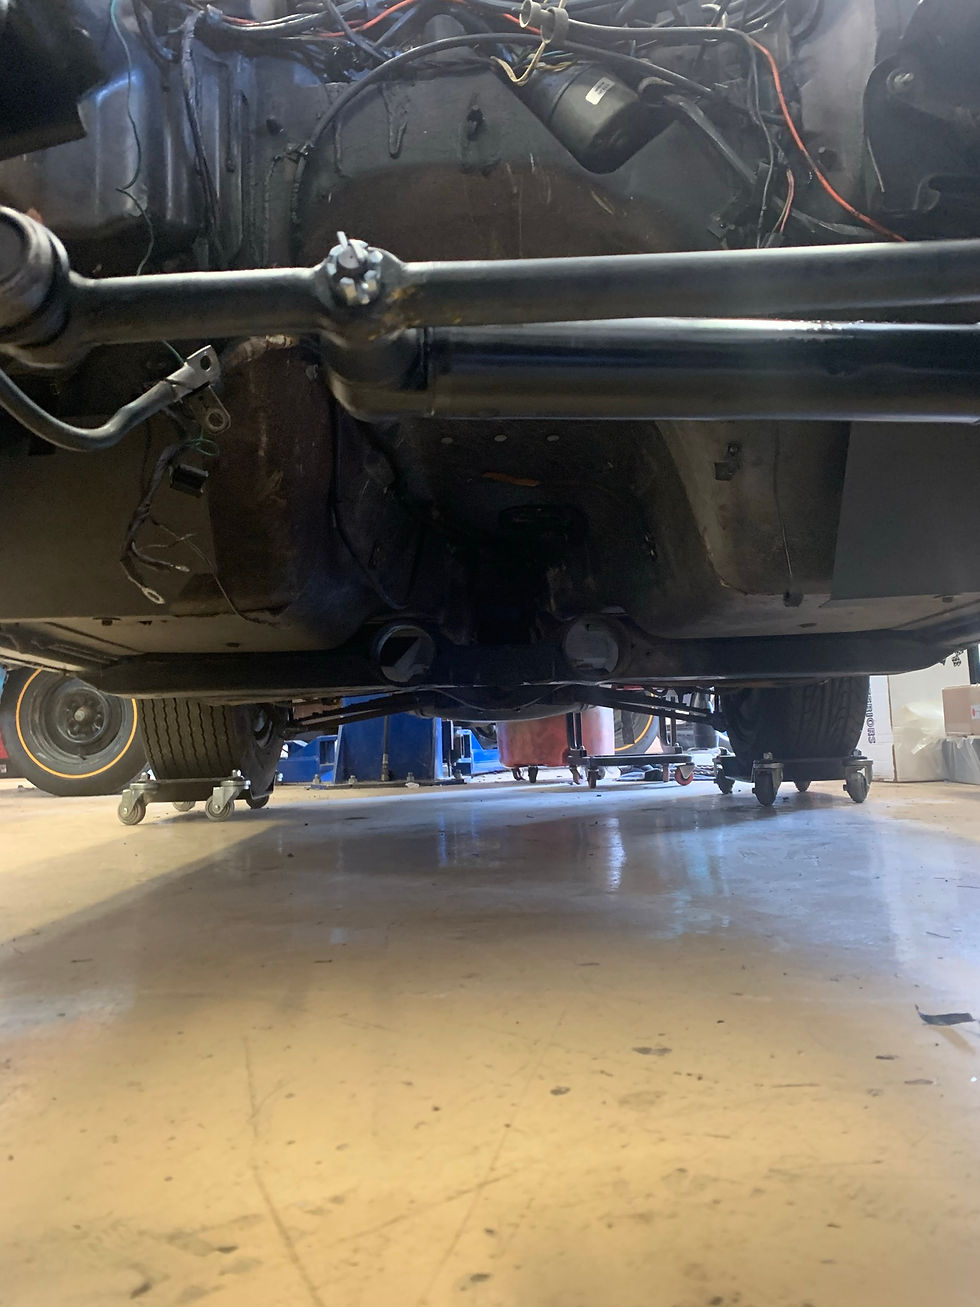
You'll note in the following images that the bolt heads, nuts, and castle-nuts are NOT painted, which is the way they came from the factory. This is a quick way to tell a quality restoration from a hack job, where someone took a can of spray paint to the underside of the car. Even the cotter pins were replaced in the exact orientation they were in before dissassembly. (For our restoration, we did paint the nuts and bolts with a clear coat paint to prevent future rust issues.)


Here's a shot looking back towards the transmission tunnel. Note the two flat metal heat shields standing before the fiberglass tub of the body. Behind the right shield is the number "67" written in chalk. You will also find this number on the back of the body, just ahead of the gas tank. Bodies were numbered 1-500 on the assembly line (there were never more than 500 cars at one time on the line.) Parts would be noted for body #67 and so on until reaching body #500, and then the count would start over at #1 again.
In the lower right of this next picture, you can see a bit of the yellow paint next to the castle-nut that marked the steering control arm.

The alternator was sandblasted and rebuilt.

Here are the starter and solenoid assembly, rebuilt as well.


After removing the side louvers, you can quickly tell that the Cortez silver paint is original because the inside of the louvers were NOT painted at the factory and they still show the brick red primer. Most body shops that repaint a car will remove all trim and spray the body, including these areas, so this area would be silver on a repainted car. You can also see the "orange peel" finish in the reflection above the Stingray logo, indicative of the factory finish versus a shiny, mirror-like finish of a repaint using today's modern methods.

Here is something unique for the NCRS judges to consider. The 1970-1972 NCRS Technical Information Manual and Judging Guide, page 141, states the following:
"Tonawanda [engine manufacturing plant] sources report that beginning in 1968, engines were painted before the exhaust manifolds were installed and have no orange on the exhaust manifolds. However, original 454 engines that appear to have been painted with the exhaust manifolds in place have been seen. There is some thought that early to mid-1970 (at least through SN 8,448) 454 exhaust manifolds may have been painted on the engine...Further research needs to be done to validate this theory."
This car is a late model July build, 15192 of 17316, but clearly shows the exhaust manifolds were installed prior to engine painting, evidenced by the orange paint on the manifolds. This is a unique find and the Judges will probably amend the manual upon inspection.

Two years after the car was purchased, the original owner replaced the original hood (left) with a big block, after-market hood (right.)


The following pictures raise some questions as to whether the body in front of the hood was scratched during the hood's installation, or if the new hood was painted after installation on the car. These last two pictures show some interesting paint characteristics. In the first picture, note the silver over-spray on the headlight assembly. That would not be present from the factory. (As a side note, look at the heavy masking tape still present below the headlight assembly, where it holds the body shim in place.)

In this photo, you can see in the reflection on the hood there is a shiny area next to the hood opening and then a visible line transitioning to a dull area, which is overspray. At some point, for an unknown reason, the area just beyond the hood opening was masked off and repainted. As noted, this could have been done during the hood replacement or even at the factory or the dealership. It's hard to say. Thankfully, buffing the paint here should remove this imperfection.

Next time, we should be getting back the engine parts for its reassembly. Stay tuned!


Comments