Working on the Rear End of the Chassis
- K.W. Bunyap
- May 15, 2021
- 3 min read

Now that the engine block and transmission are back in the car, the restoration has moved rearward on the chassis. The rear differential has been removed and is off to be rebuilt and should be back this next week.

This photo shows the underbody prior to cleanup. The frame has a bit of surface rust but is in good shape and very solid. Most frame rust issues in classic corvettes will be either on the birdcage (the frame around the windshield) or at the kickup area which is where the frame rises at the start of the rear wheel well. You can see that area in the lower left of this picture, at the start of the wheel well.


After scrubbing with a wire brush and some paint, things start to look sharp again.

When rebuilding the drivetrain, many folks will give attention to the engine and transmission but stop short of rebuilding the last link in the drivetrain: the rear differential. Failure to address this important piece of equipment could cause a noticeably violent, shuddering clunk when turning a corner due to rust issues inside the differential that bind things together when the car has sat for a long time.
The spare tire tub, the spare tire, the and gas tank have been removed.

The spare tire was in pristine condition and still had rubber nubs on the tread showing it had never been on the ground! Even more exciting was getting a look at the "tank sticker," which is the build sheet glued to the top of the gas tank. It is placed there as the frame and chassis move down the assembly line during construction to designate the specific items and accessories the car will receive. It is one of the holy grails of paperwork for these cars. As is often the case, mine was in pretty rough condition. Here is a picture of what was left of the sticker, while still on the tank, after having been cleaned up with a small, soft brush.

Sadly, the glue was pretty thick, and while attempting to remove the sticker it flaked apart into pieces as you can see below.

To give you an idea of what the sticker would look like if it was complete and intact, I recreated it in the following photo. Note: I had to make up an Ident. No. and an Order Number in this recreation since I was unable to read the original numbers on the actual tank sticker. Still, this makes a pretty neat representation of what the sticker would look like, aged, but still intact.

Taking the paperwork a step further, I recreated what the window sticker might look like for the car, which shows the actual purchase price for the items this car came with.

The gas tank was sent off to be boiled out and cleaned of all the gasoline gunk that remains inside of it, a necessary step before putting new gas in a tank that has sat for this long.
Getting back to the rear suspension, here you can scroll through pictures to see some of the pieces cleaned up and ready for reinstallation.


Even the control arms in the first picture above show the level of detail undertaken during the restoration. The arms were first painted silver, then black paint was sprayed on them and immediately wiped away, leaving the correct grayish finish matching their original condition.
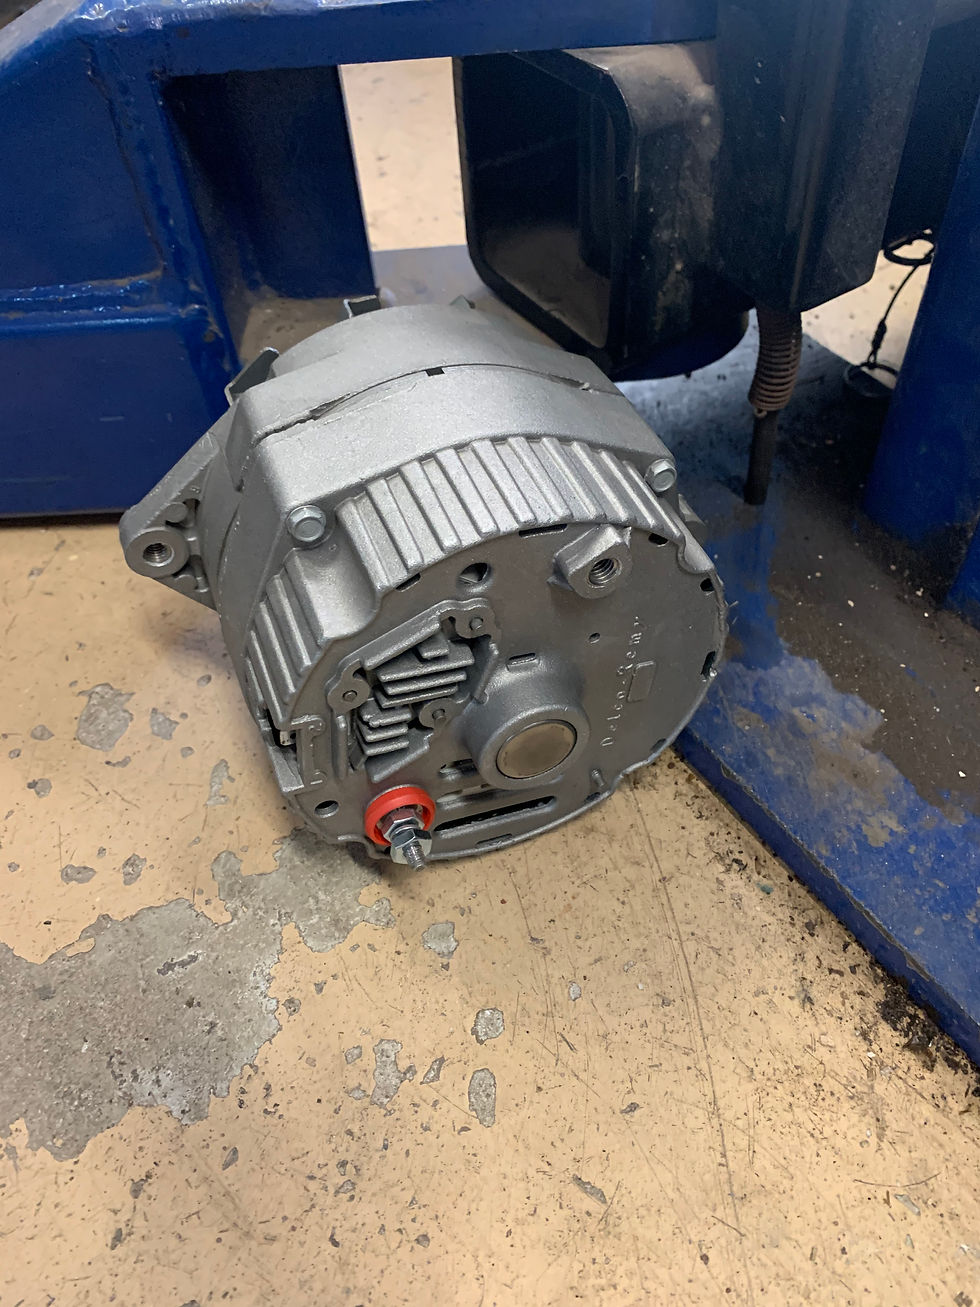
The engine accessories are going back on as well. Here's the alternator, about to be reattached.
Below, the radiator is back in the car. You can also see the nicely refurbished headlight vacuum pump canisters just to the right of the radiator.

Even the coolant overflow cap has been refinished to look as if brand new.

When I bought the car, the left door latch was not working and the door would not close. It made for a sporty trip home from Oklahoma, having to tie the door closed to keep it from opening. I'm very excited to see it finally repaired!
Progress is coming along well ahead of schedule. It's only a few weeks until the motor gets a chance to start for the first time in 48 years. After that, it's on to the interior and exterior, which should not take much to refresh!

Things are coming along nicely.
Stay tuned.


Comments